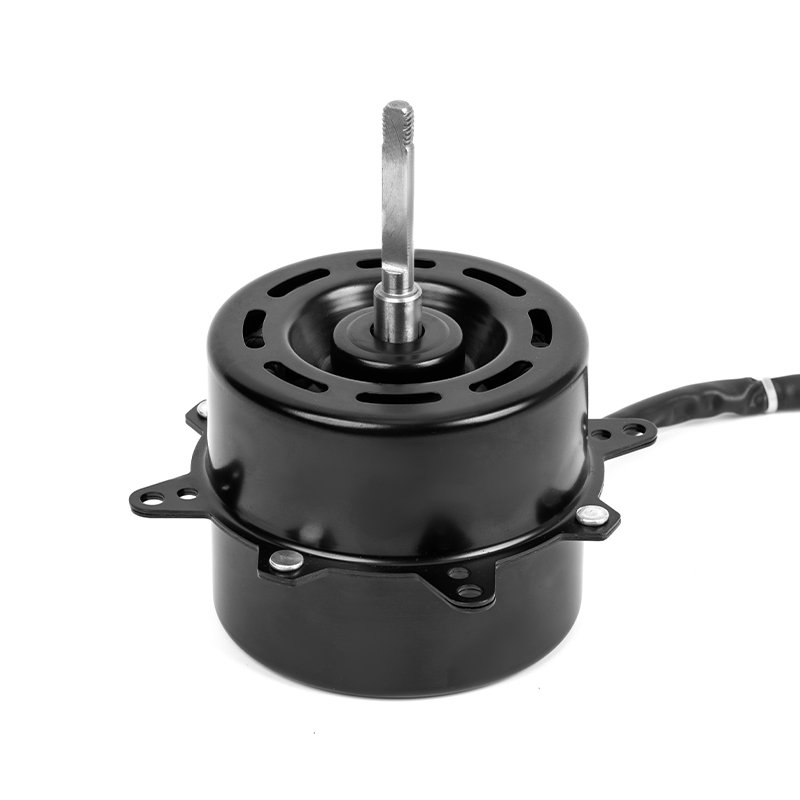
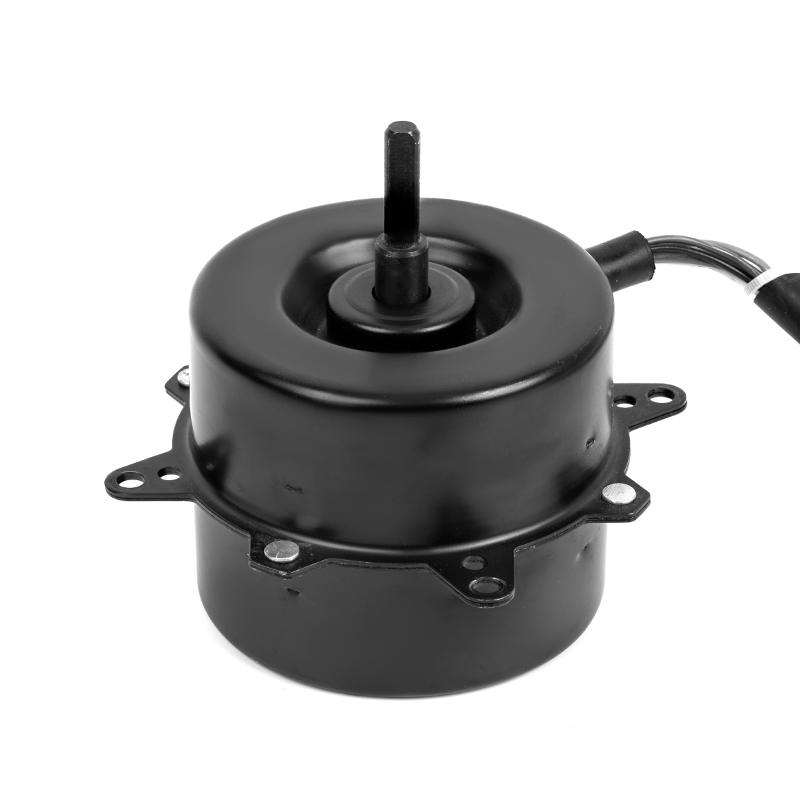
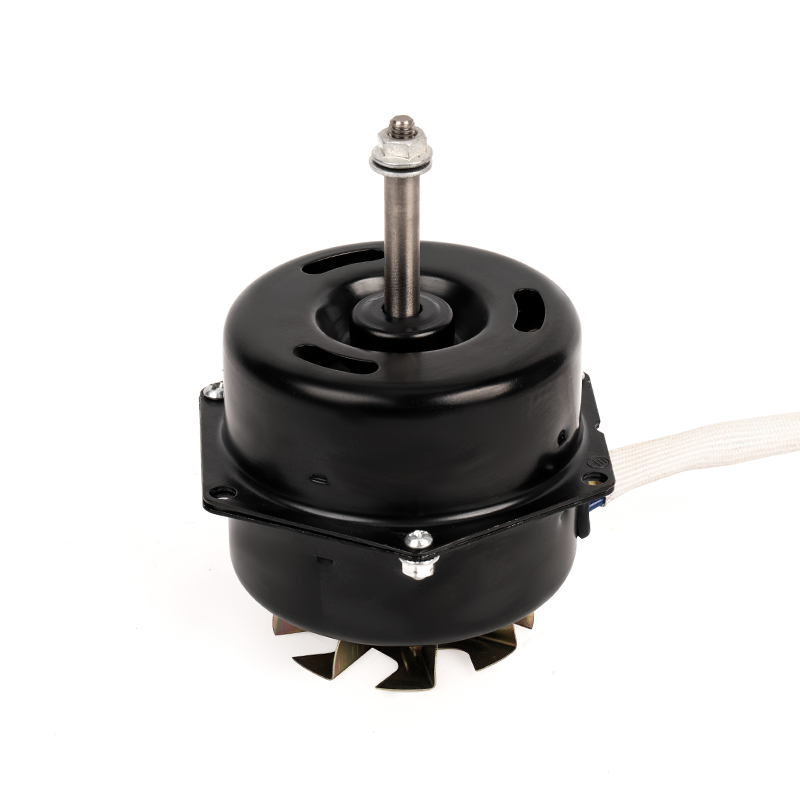
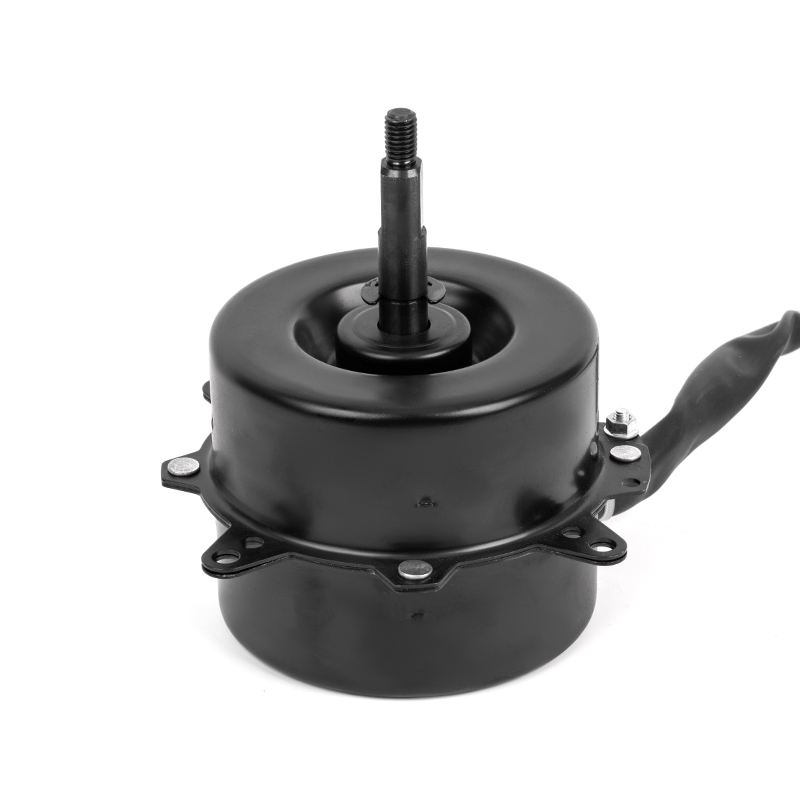
To ensure the long-term reliability of an air cooler DC motor, it is crucial to adhere to a comprehensive maintenance schedule. The following detailed points outline the key maintenance tasks required:
Regular Cleaning: Dust, dirt, and debris can significantly impair the performance of a DC motor by obstructing airflow and causing overheating. Utilize compressed air to blow out any accumulated dust from the motor housing, cooling fins, and ventilation slots. For stubborn debris, use a soft brush to gently remove it. Regular cleaning should be performed every few months, or more frequently in particularly dusty environments.
Inspect and Replace Brushes: Brushes in a DC motor are crucial for maintaining electrical contact with the commutator. Over time, brushes wear down and need to be replaced to ensure efficient operation. During inspection, check the length of the brushes and look for signs of uneven wear or chipping. Replace the brushes if they are worn down to the our recommended minimum length. It’s advisable to keep spare brushes on hand to avoid downtime.
Check and Tighten Connections: Electrical connections should be routinely checked to ensure they are tight and free from corrosion. Loose connections can lead to arcing, overheating, and motor failure. Use a screwdriver to tighten any loose terminals and a multimeter to check for continuity. For corroded connections, clean them with a wire brush and apply an electrical contact cleaner. Reapply any protective coatings as necessary to prevent future corrosion.
Lubricate Bearings: Bearings reduce friction between moving parts of the motor, and proper lubrication is critical to their longevity. Over-lubrication can attract dust and debris, while under-lubrication can lead to increased friction and wear. Typically, lubrication should be done every 6 to 12 months, depending on operating conditions. Use a grease gun or oiler to apply the lubricant evenly.
Inspect for Wear and Tear: Regular inspections can catch early signs of wear and tear before they lead to major issues. Look for frayed wires, cracked insulation, loose components, and signs of overheating such as discoloration or burn marks. Replace any damaged parts immediately and ensure all fasteners are properly tightened. Use thermal imaging cameras to detect hot spots that may indicate underlying electrical or mechanical problems.
Monitor Operating Temperature: Overheating is a common cause of motor failure. Use a temperature gun or thermal imaging camera to regularly monitor the motor’s operating temperature. Compare readings to the motor’s specified operating range. If temperatures exceed the recommended limits, investigate potential causes such as restricted airflow, excessive load, or electrical faults. Address any issues promptly to prevent damage.
Check for Vibrations: Excessive vibrations can indicate alignment issues, unbalanced components, or bearing failure. Use a vibration analyzer to measure the vibration levels of the motor. Common causes of vibration include misalignment of the motor shaft, imbalanced rotors, or loose mounting bolts. Correct alignment issues using laser alignment tools and balance rotating parts as needed. Tighten all mounting hardware to ensure the motor is securely installed.
Ensure Proper Ventilation: Adequate ventilation is essential to prevent overheating. Ensure the motor is installed in a well-ventilated area and that cooling vents are unobstructed. In confined spaces, consider installing additional ventilation fans to improve airflow. Regularly check and clean any filters or grills to maintain optimal airflow. Ensure the motor’s environment remains within the recommended temperature and humidity ranges.


 English
 عربى
عربى ++86 13524608688